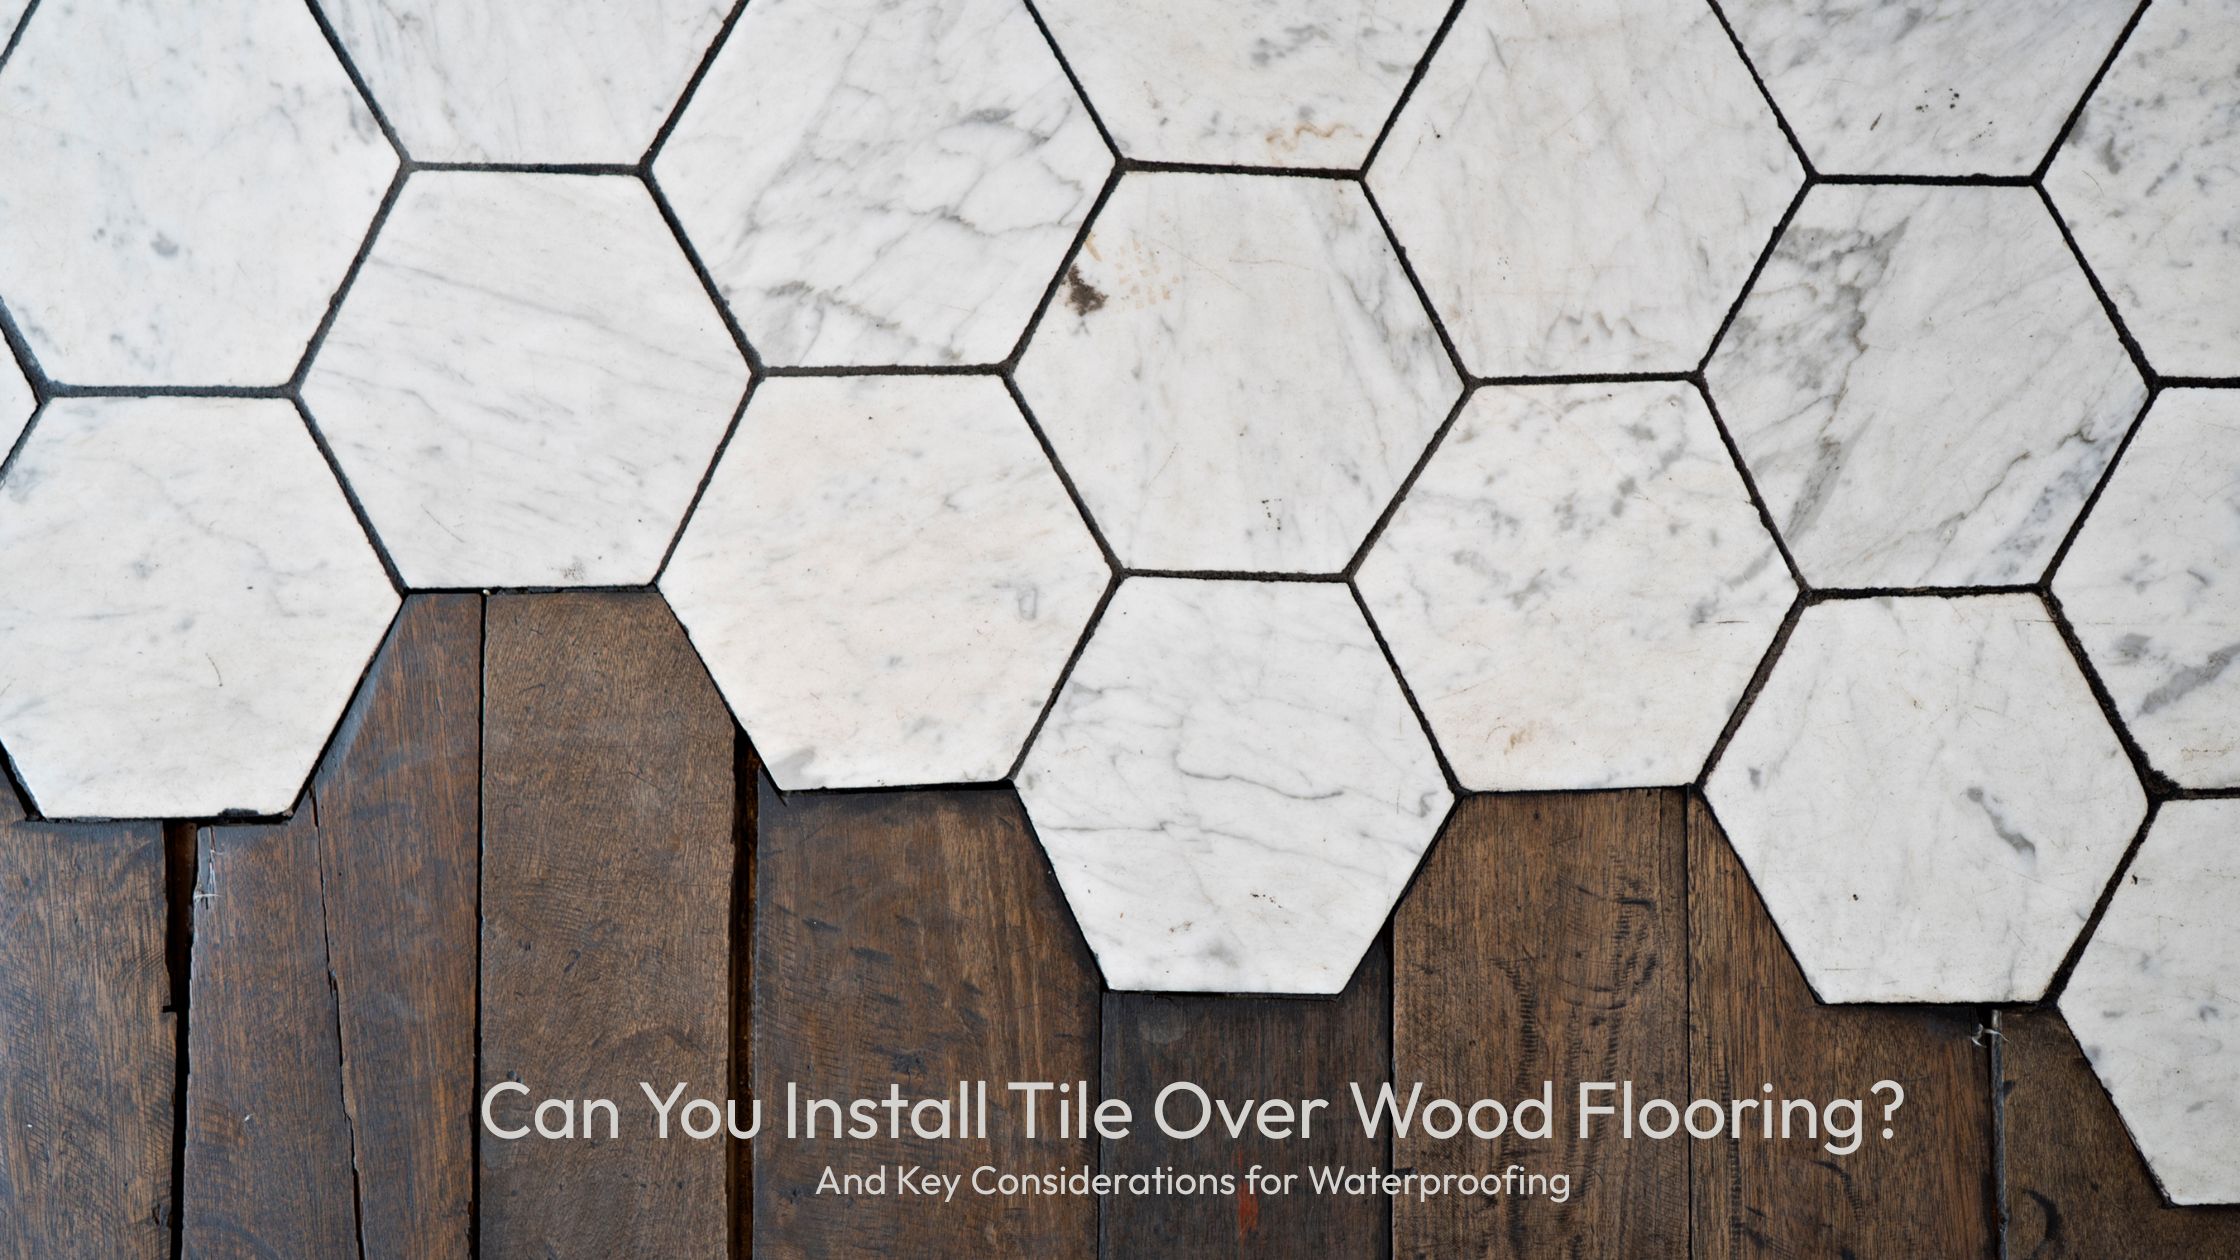
Can tile be installed over a wood floor?
Yes, but only with proper prep—ensure the subfloor is stable, waterproofed, and leveled. Use the right adhesive and grout, or risk cracks and moisture damage.
Tile is a popular flooring choice for bathrooms, kitchens, mudrooms, and laundry areas due to its durability, aesthetic versatility, and resistance to moisture. But what if your current floor is wood? Can tile be installed directly on top of it?
At Creative Floors and Designs, we frequently hear this question from Northern New Jersey homeowners aiming to merge contemporary tile designs with the character of their older homes. The good news is that installing tile over a wood floor is certainly feasible, but it calls for detailed preparation, structural assessment, and proper waterproofing techniques.
This guide outlines the main steps and decisions involved in preparing a wood subfloor for tile, with a focus on moisture protection and long-term performance.
Why Homeowners Consider Tile Over Wood
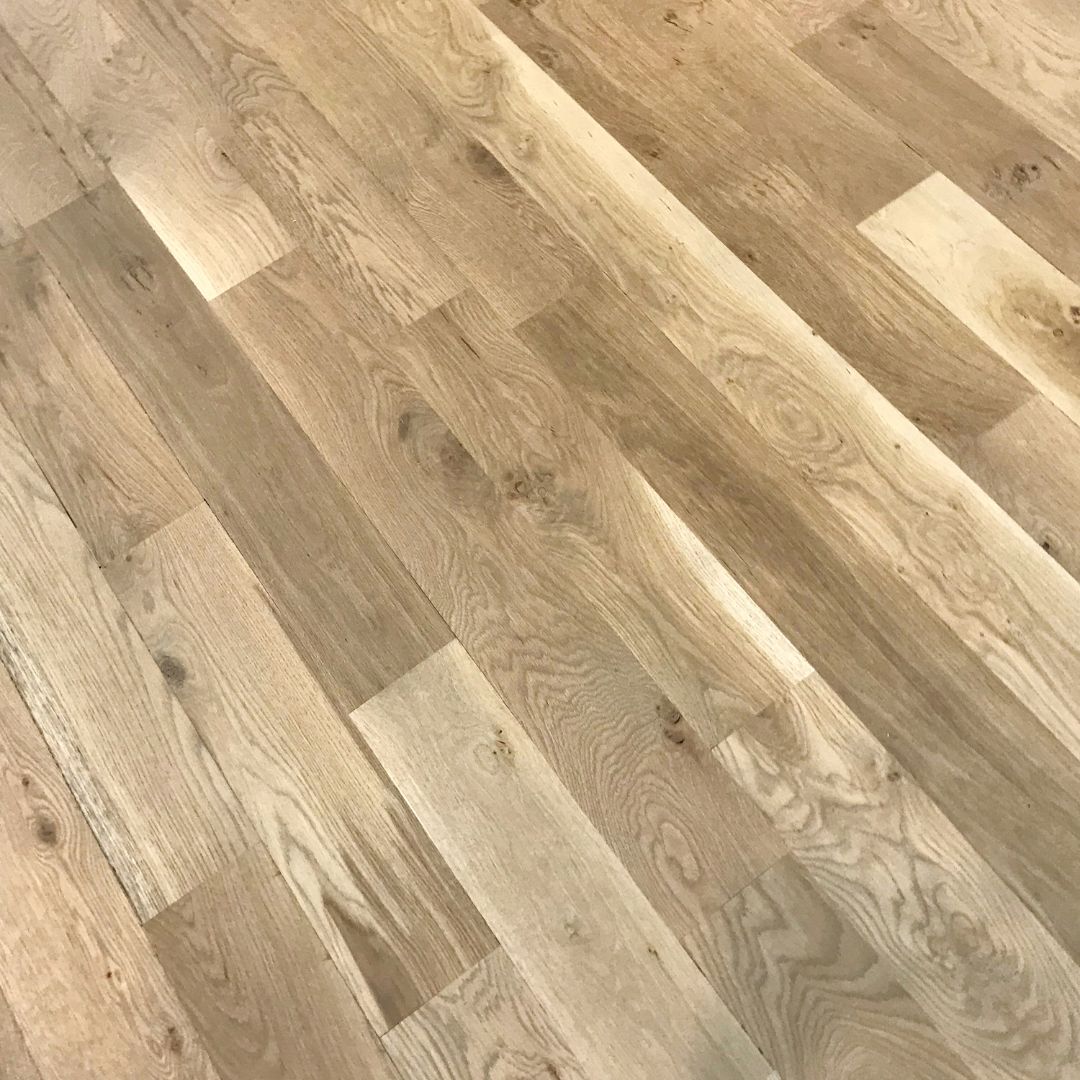
While hardwood floors add warmth and charm, they’re not ideal for areas where water exposure is common. Ceramic and porcelain tile, by contrast, offer better protection in damp environments. Installing tile over existing wood can be a smart way to upgrade a space without fully removing the original flooring system, but it must be done with care.
Benefits of tile over wood include:
- Improved moisture resistance
- Easy cleaning and upkeep
- Wide design options
- Long-lasting surface performance
Skipping proper preparation can lead to structural issues or moisture damage. Getting the process right matters.
Step 1: Evaluate the Existing Wood Subfloor
A successful tile installation begins beneath the surface. The wood subfloor must be in solid condition before anything else is done. This means:
- No signs of rot or water damage
- Even and flat surface (no more than 1/8 inch variation over a 10-foot span)
- Secure fastening with no movement or creaks
If the floor shifts or flexes under pressure, tile and grout are likely to crack. In older homes especially, it’s wise to bring in a flooring expert to evaluate structural integrity before proceeding.
Step 2: Strengthen and Prepare the Base
Even a sturdy wood subfloor may need reinforcement to support the rigidity of tile. Tile doesn’t adapt well to movement, and even slight shifting can lead to breakage over time.
Reinforce the Subfloor
One option is to install an additional layer of plywood to reduce flexing. Alternatively, a cement backer board can offer a more rigid base and improve tile adhesion.
Level the Surface
Uneven areas must be smoothed out using a self-leveling compound. This helps prevent lippage, where tile edges sit at different heights, which affects both the look and safety of the floor.
Manage Moisture
Because wood absorbs moisture, protective measures must be taken. Applying a waterproof membrane before tile installation helps shield the subfloor from future damage. Liquid-applied barriers or membrane sheets like Schluter-DITRA are reliable choices.
Step 3: Select the Right Adhesive
Not every tile adhesive is suitable for wood-based surfaces. The adhesive must be strong yet slightly flexible to accommodate minor movements in the wood.
Recommended options include:
- Modified thin-set mortar: Works well with cement backer boards
- Latex-fortified mortar: Offers added elasticity for use over plywood
- Epoxy adhesives: Best for high-moisture zones needing extra durability
Choosing the correct adhesive is key to avoiding loose tiles or early failure. When in doubt, ask a professional to evaluate which product best suits your floor and tile type.
Step 4: Apply a Full Waterproofing System
Many assume tile is waterproof, but water can still seep through grout lines and cause problems below the surface. Moisture-related issues often begin where grout and tile meet untreated wood.
Install a Moisture Barrier
Before any tile is laid, a barrier system should be in place. Consider:
- Roll-on waterproofing membranes
- Peel-and-stick waterproofing sheets
- Uncoupling membranes with water-resistant properties
This step prevents water from penetrating the subfloor, preserving its integrity and extending the life of the entire floor system.
Choose Water-Resistant Grout
Traditional grout tends to absorb water over time. Epoxy grout resists both water and staining, making it a better fit for damp spaces. After grouting, a sealant should be applied to further protect tile joints and grout lines.
Step 5: Install the Tile
Once prep work is complete, tile installation can begin.
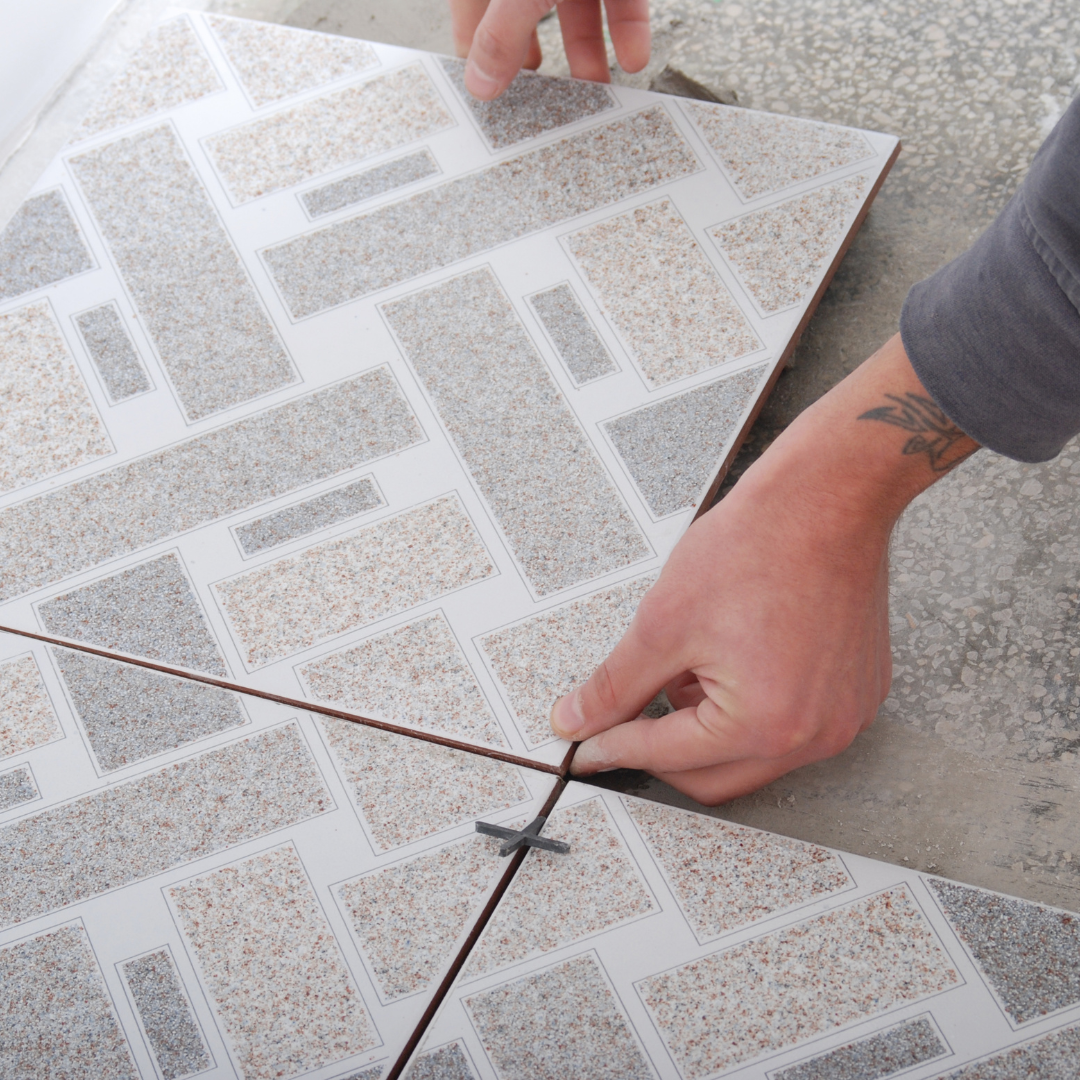
Lay the Tile
Use a notched trowel to apply adhesive evenly. Begin laying tiles in sections, using spacers to maintain uniform grout lines. A laser level helps maintain straight, even placement across the room.
Apply Grout and Seal
After allowing time for the tile to set—usually about 24 hours—grout is applied and wiped clean. Once cured, a sealant is applied. Depending on the grout type used, periodic resealing may be required to maintain water resistance.
Common Issues and How to Avoid Them
Here are typical problems that can arise with tile over wood installations, along with ways to prevent them:
- Cracked tiles or grout: Often caused by movement in the subfloor. Reinforce the base and use a decoupling membrane to reduce stress on the tile layer.
- Moisture damage or mold: Skipping the waterproofing step or using standard grout can let water in. Always use a full waterproofing system and consider water-resistant grout.
- Tiles lifting or shifting: Can result from poor adhesive choices or insufficient curing time. Use recommended adhesives and allow for full drying before exposing the floor to traffic.
When to Hire a Professional
While tile installation may seem straightforward, placing tile over wood with proper waterproofing adds layers of complexity. Subfloor evaluation, material compatibility, and moisture control all require attention to detail.
Improper techniques can lead to repairs down the road, which often cost more than doing the job right the first time. For spaces like bathrooms, laundry rooms, or kitchens, the margin for error is small.
At Creative Floors and Designs, we specialize in installations that demand both technical expertise and design precision. If you’re renovating in Ridgewood, Wyckoff, or anywhere in Northern New Jersey, we’re ready to help with product recommendations, layout planning, and expert installation.
Moving Forward with Confidence
Combining the visual appeal of tile with a wood base is entirely possible with the right approach. Every successful installation starts with a stable, moisture-protected foundation, continues with careful material selection, and ends with skilled application.
If you’re planning a tile installation over wood in your Northern New Jersey home, reach out to the team at Creative Floors and Designs. We’ll walk you through each phase, offering practical solutions and professional results.
Schedule Your Consultation
Have questions about waterproofing options or material selection? We’re happy to help. Contact Creative Floors and Designs for a complimentary in-home consultation. We proudly serve Bergen County, Passaic County, and surrounding areas.
FAQ
Do I need to remove my wood floor before tiling?
Not always. If the wood subfloor is stable, dry, and reinforced, tile can be installed directly over it with proper preparation.
What happens if I skip waterproofing under tile?
Without waterproofing, moisture can seep through grout lines and damage the wood below, leading to rot, mold, or tile failure.
What type of adhesive works best for tile over wood?
Modified thin-set mortar and latex-fortified mortar are recommended. In high-moisture areas, epoxy adhesives provide extra durability.
Can I install tile over uneven wood floors?
Yes, but the surface must be leveled with a self-leveling compound before tile installation to prevent uneven tiles and cracking.
Is professional installation worth it?
Yes. Installing tile over wood requires expertise in structural evaluation, waterproofing, and adhesive selection. Professionals reduce the risk of costly repairs later.


